
10 easy steps to Picture Perfect Hanging for Art from our Design Expert!
PICTURE PERFECT HANGING TIPS
Step 1: Find a stud using a stud finder if possible.
I always like Step One...pretty much because playing with the "stud finder" gives me the giggles every single time! I love to test it out on anyone in the house...in an effort to find anyone "studly." Childish...I know, but I am all about making "work" fun!
Before you commit to a location, find a stud to screw into using a stud finder. If you hear a shallow, solid thump, you've found a stud; they're usually spaced between 16 and 24 inches apart. Note: For lightweight art under five pounds, a simple nail placed between studs will work, but attaching art to a stud is a safer option.
Step 2: Determine center focal point for the art 57”- 60” above the floor.
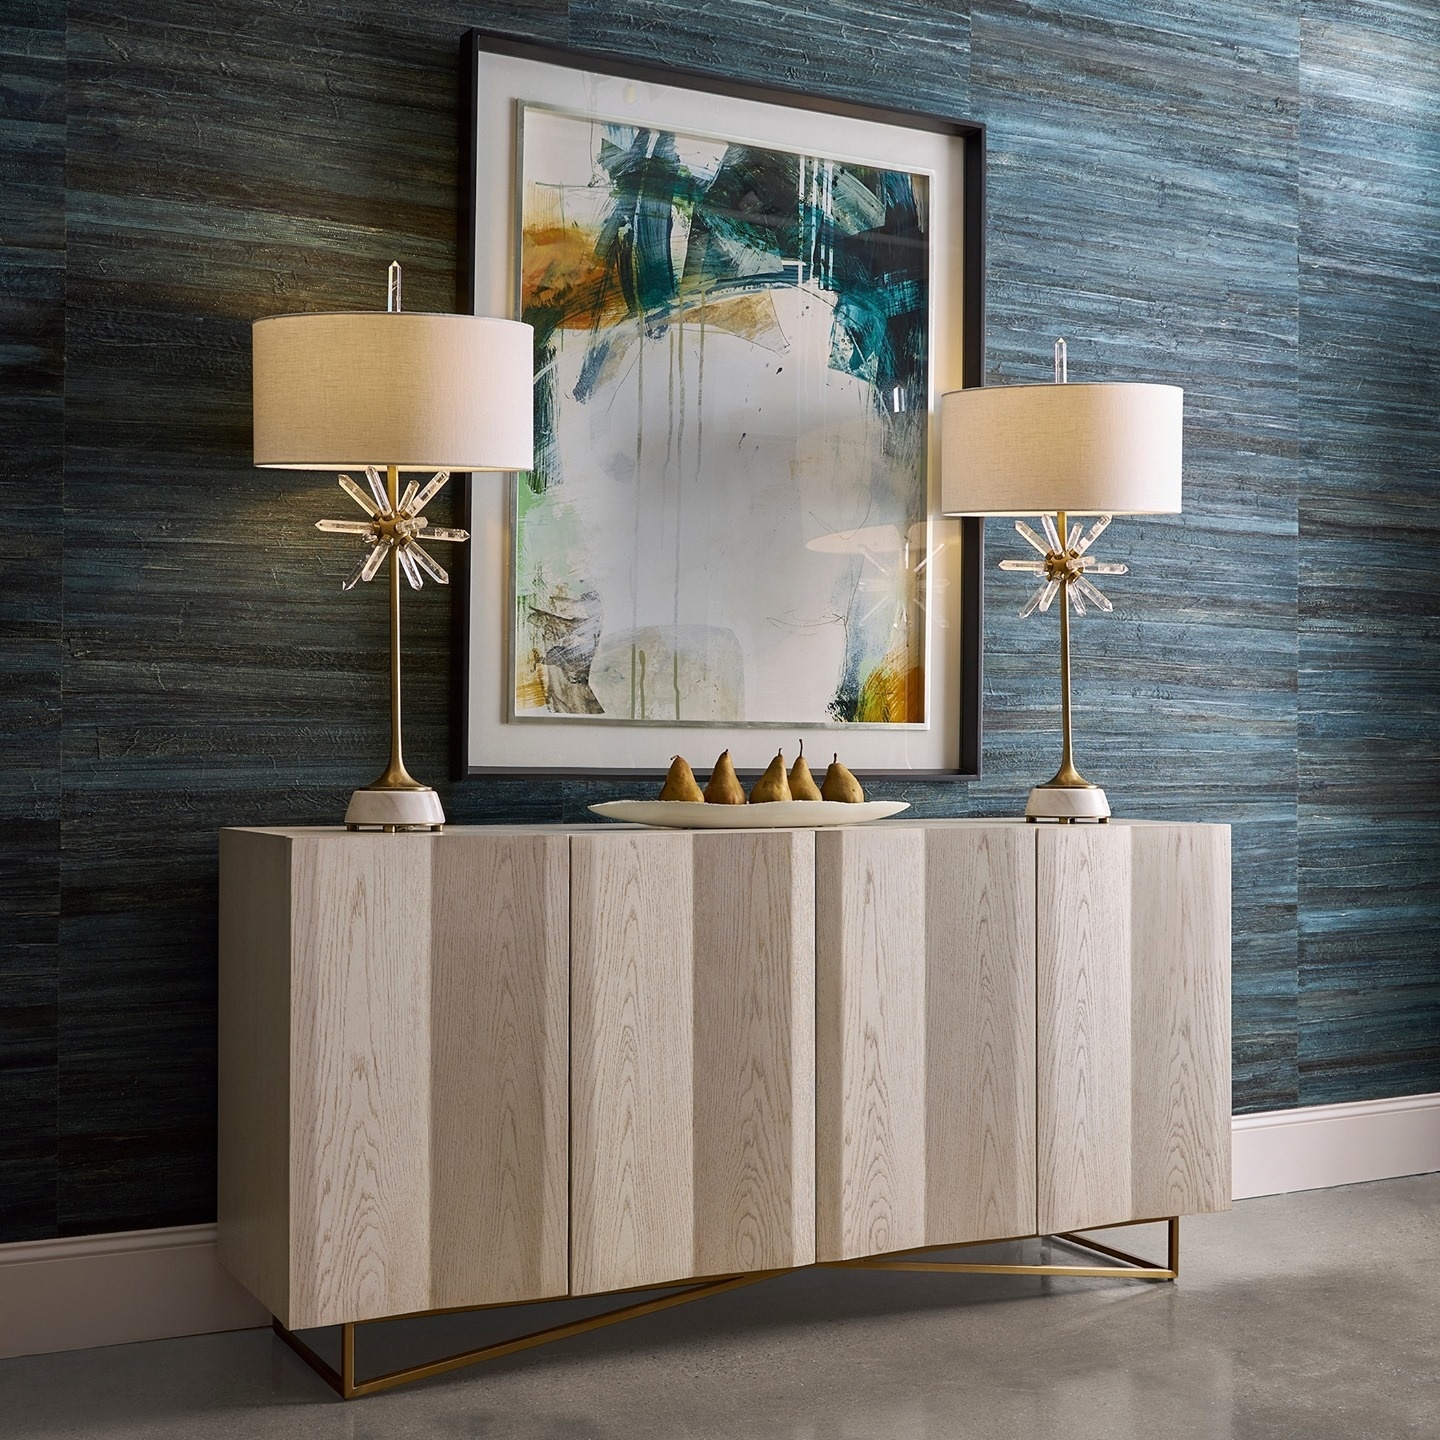
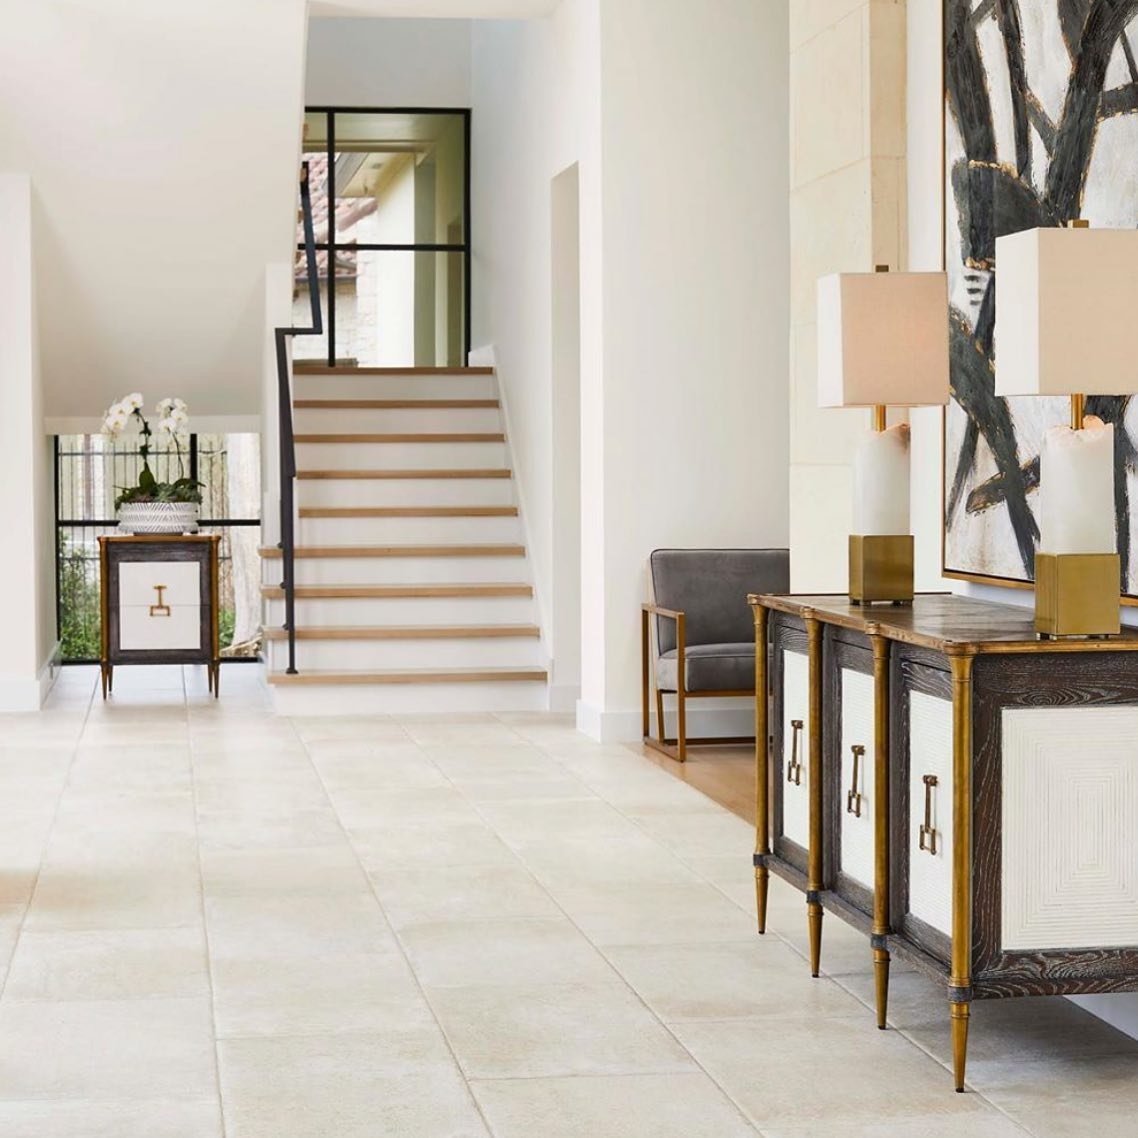
Depending on what is going under your artwork, if anything...this measurement changes. If you're hanging over a sofa or set of chairs, it's best to hang approximately 3" to 6" above the top of the sofa. If your ceilings are a little lower, you may need to use the 3" rule. If your ceilings are higher, definitely stretch to the 6" if possible! When hanging above a table, like in an entryway go a little higher - starting at 4" to 8" - again depending on the height of your ceilings.
A general rule of thumb is to keep the center focal point approximately 5 feet above the ground, between 57 and 60 inches from the floor. This is based on the average height of a person being 5'7'. Sometimes your focal point may be lower in an area (such as in a dining room) where most of the time you'd be viewing the art while sitting down.
Step 3: Lightly mark center focal point on the wall with a pencil.
I can't emphasize this enough...use a pencil! In fact, I will often use painters tape and then use a pencil to mark on top of that!
Step 4: Measure distance from floor to top of art while someone holds
the art on the wall.
Now it's time to decide exactly at what height you'll drill into the wall. Have an assistant hold the centered
picture against the wall. With the picture held on the wall and the center point of the art lined up, use the tape measure to determine the distance from the ground to the very top of your art. Jot this measurement down.
This can be tricky! If I don't have anyone to help me with this part...I will use books on top of a table top to stack up and decide how high I want my artwork to be. After stacking books...I balance the artwork on top, lean it against the wall, then mark my height. Make sure its leaning against the wall and sturdy! Its always best to have a helper hold the artwork, even with this method!
Step 5: Measure distance from the top of the backside to the top of the
wire hanger. Subtract this from the 57” or 60” measurement.
This is my least favorite part. Math! :) Pull up on the wire, then measure the distance from the center of the tightened wire's pitch to the top of your art. Now subtract this measurement from the overall height from the ground to the top of the art. The number you end up with is where you'll be screwing into the wall.
Step 6: Create a pilot hole with a nail and hammer or a drill.
It's best to use a drywall anchor to hang art securely. Determine the approximate weight of your picture. Wall anchors which hold different weights are available at hardware stores. Before inserting the anchor, prep the wall with a pilot hole. Next, simply screw in the anchor using a drill and the proper drill bit for the size screw needed for your art. Once it sounds as though the bit has hit the stud, go ahead and retract the drill.
This depends on if you are hanging a large piece of artwork or something small. Large artwork often requires a special drywall anchor. For this, you need a pilot hole for sure! It makes hammering the anchor much easier!
Step 7: Insert a drywall anchor or nail in the hole.
Okay! Moving on...Once the pilot hole is done, push the anchor in with your finger or tap it with a hammer or rubber mallet. Next, insert the screw into the anchor.
Step 8: Adjust the nail or screw to fit the picture on the wall securely.
Use drill to adjust the drywall anchor screw to the proper depth for your art. Don't forget, don't get your nail or screw too close to the wall! That will cause a whole new nightmare!
Step 9: Use a level on top of the picture to make sure it is straight.
Once the art is in place with the wire hanging on the drywall anchor's screw, place a small level on the top of the art to ensure the art is hanging perfectly straight. And you're done!
Step 10: Uncork a bottle of Wine
Whoo hooo! This is when you break out the wine - relax and enjoy the beauty you have created.
Need design help for your home? Let our on staff design expert help you! Updating your home or moving into a new space can be overwhelming. Designer Pamela Scott, can help assist you with any of your design needs! Book your consultation today!

Pamela Scott, NCIDQ
Over 30 years experience in luxury, residential and commercial design.
Masters Degree in Interior Design
Featured in the Tulsa Designer Showcase, Tulsa People Magazine, and the HBA Parade of Homes
Click HERE to learn more about our Interior Design!
Click HERE to shop our home decor!


